The 2022 Toyota Tundra not only comes with a larger 14″ touch screen display but has also been completely re-imagined. It’s great to see that Toyota has improved some of the controls and visuals in the new system.
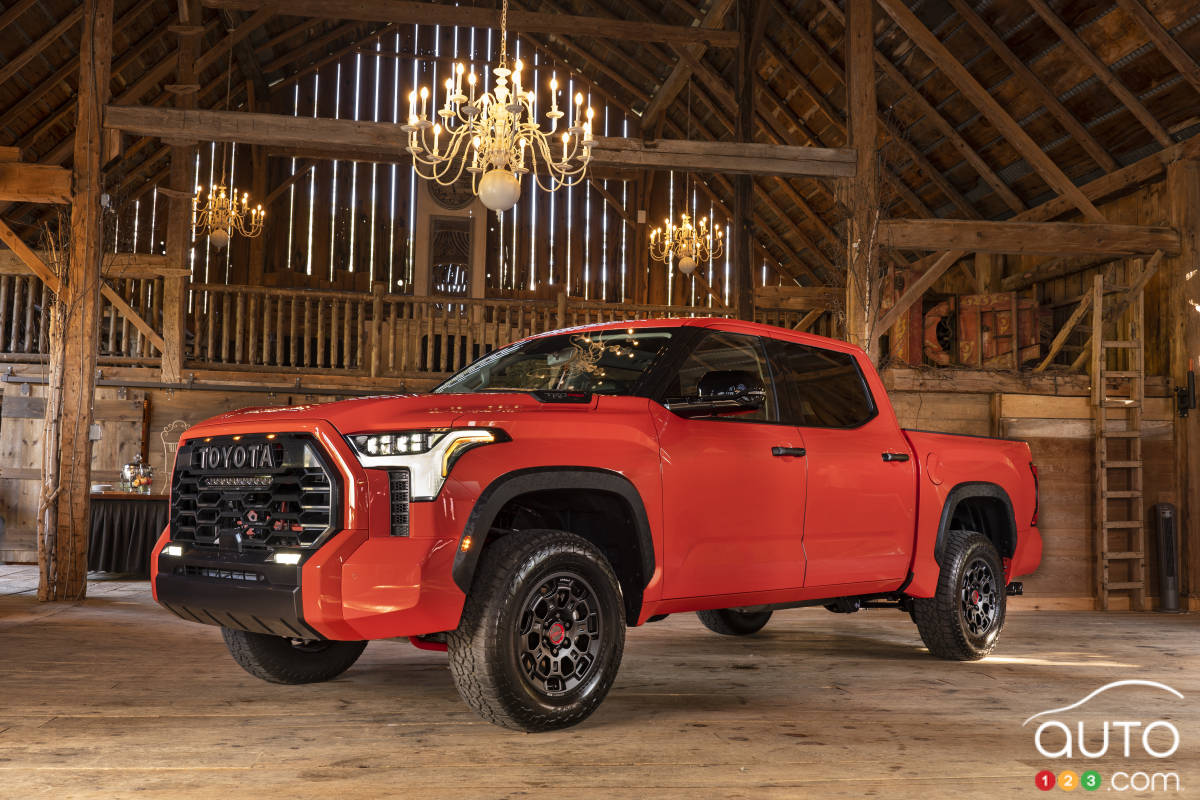
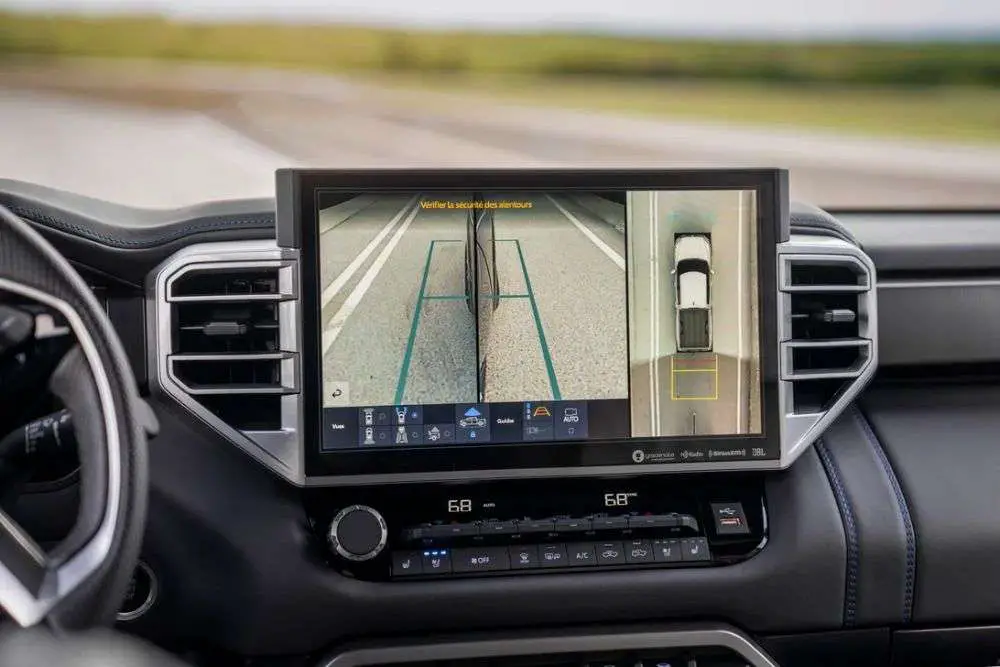
A new 2022 Tundra Platinum with the larger screen and the new Toyota Infotainment system just arrived at our shop. The Panoramic View Camera has been updated with additional buttons, as seen below!
Check out our Trim Levels Guide for the Tundra gas or hybrid models if you’re considering these vehicles!
What is a Panoramic View Monitor?
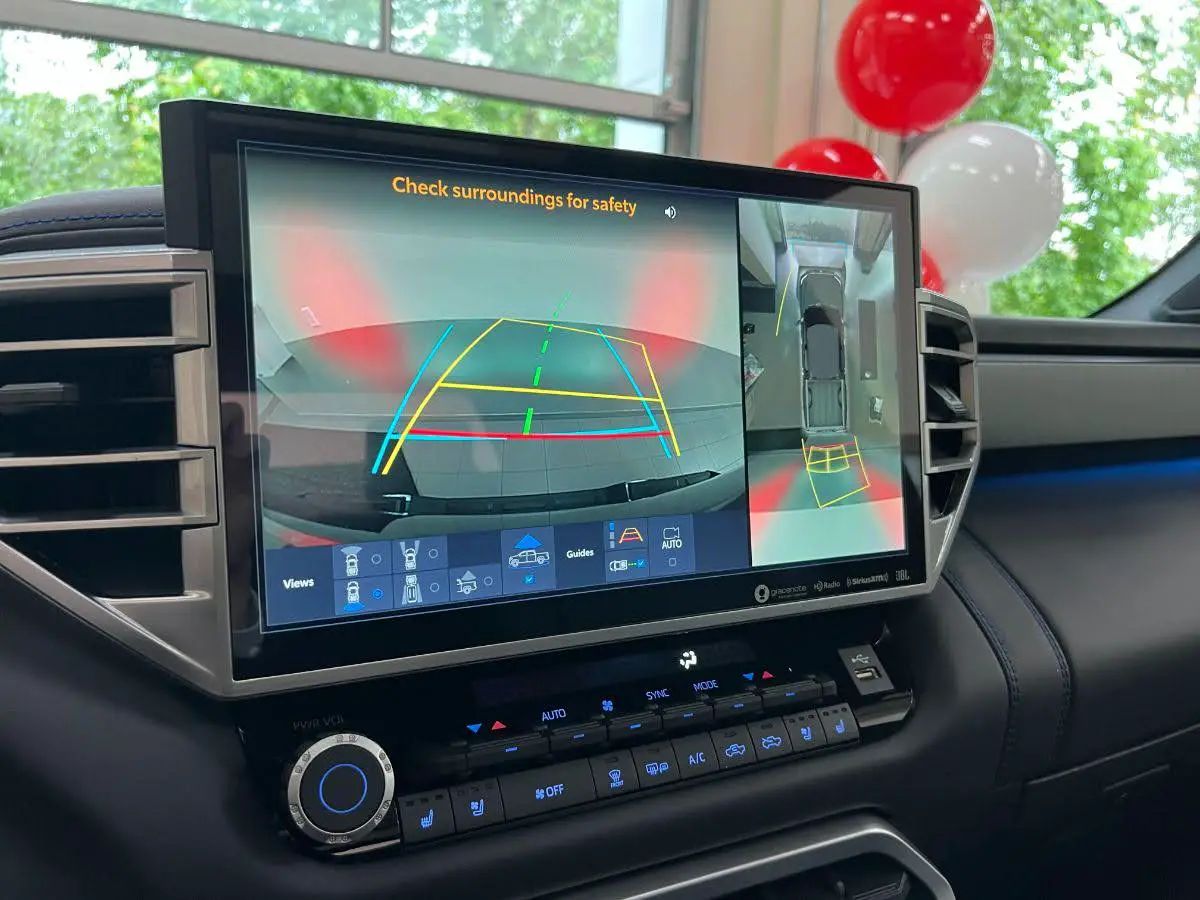
With the Panoramic View Monitor, you’ll be able to glance at the surrounding of your vehicle much easier. When you’re driving in reverse or when the camera button is pressed. On the touch screen, the Panoramic View will display.
The vehicle will display an overhead image on the screen when travelling at low speed, which is made possible by combining the front, side, and rear cameras.
There are a few view modes available, including:
- Overhead view (top down)
- See-through view (close up spin)
- Moving view (360 spin)
In these view modes, the system uses the images collected through the front, back, left, and right cameras to create the images depicted on the touch screen.
Use This to View What’s In Front of your Vehicle
The Panoramic View Monitor can show you what is in front of the car while you are driving. This is really helpful if it is hard to see out the front of the car, like when you are forward-parking or driving through questionable terrain.
This function will turn on automatically:
- When you press the VIEW button while moving approximately 16 km/h or less (Gear shift must be on D or N)
- When the parking sensor detects an object in front of your vehicle.
Menu Options when in the Panoramic View Mode
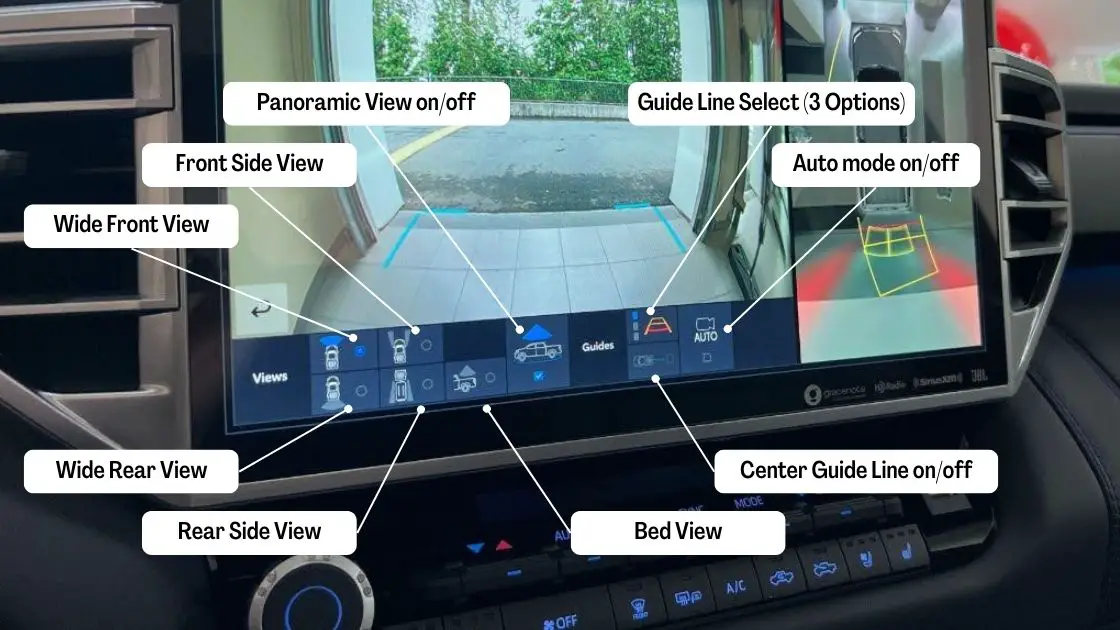
A menu appears at the bottom of the screen when you are using the Panoramic View Monitor. Use the buttons on the screen to select (from left to right):
- Wide Front view button, Wide Rear view button
- Front split view button, Rear split view button
- Bed view button
- Panoramic view on/off button
- Guide line select button, Center guide line on/off button
- Auto mode on/off button
- Multi-terrain Monitor on/off button
What are the different view modes
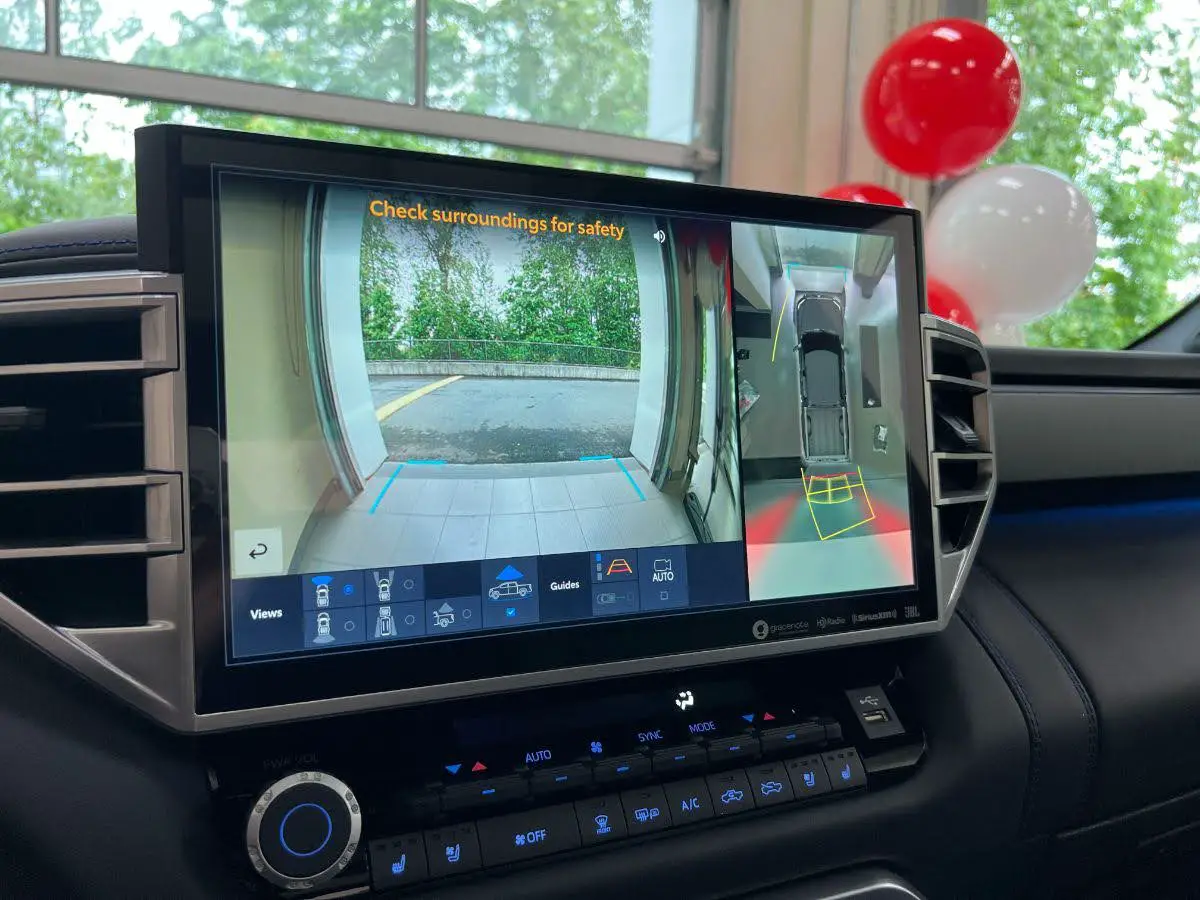
The Tundra offers several view modes when using the Panoramic View Camera, the mode will change as follows:
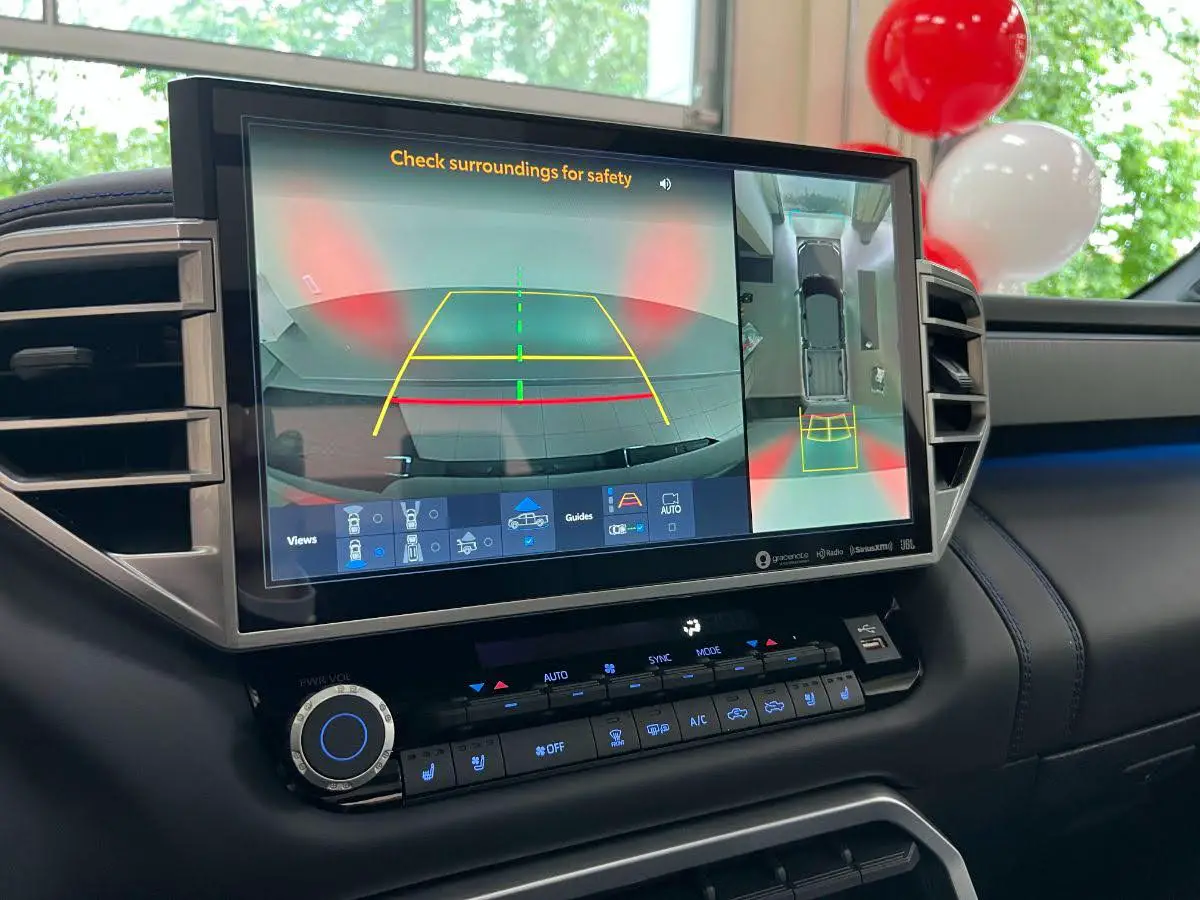
Wide Front View
With a full screen view of what is in front of your car, you can see obstacles and other vehicles. Because the aspect is wider, the camera will most likely pick up more of what’s ahead than you can see through the dashboard window.
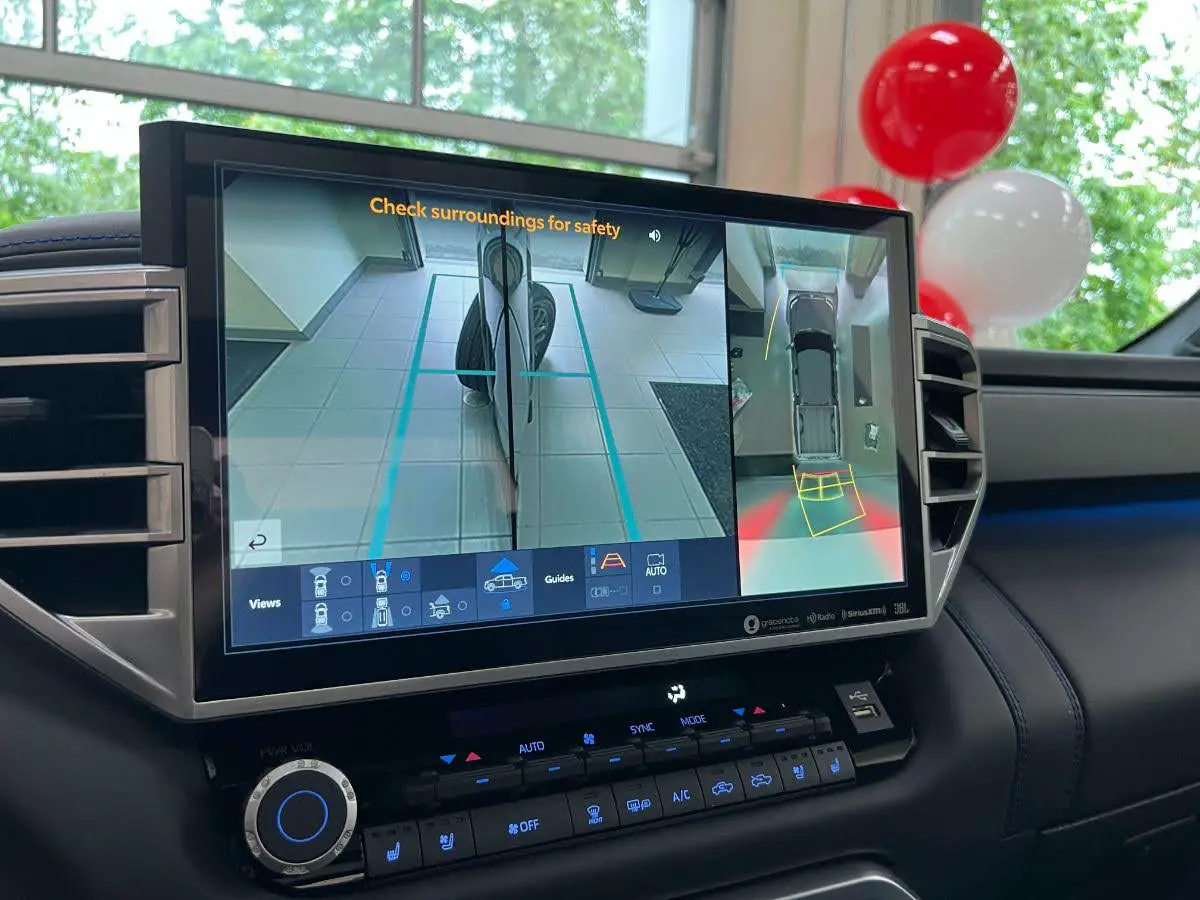
Wide Rear View
The wide rear view will allow you to see what is behind your vehicle.
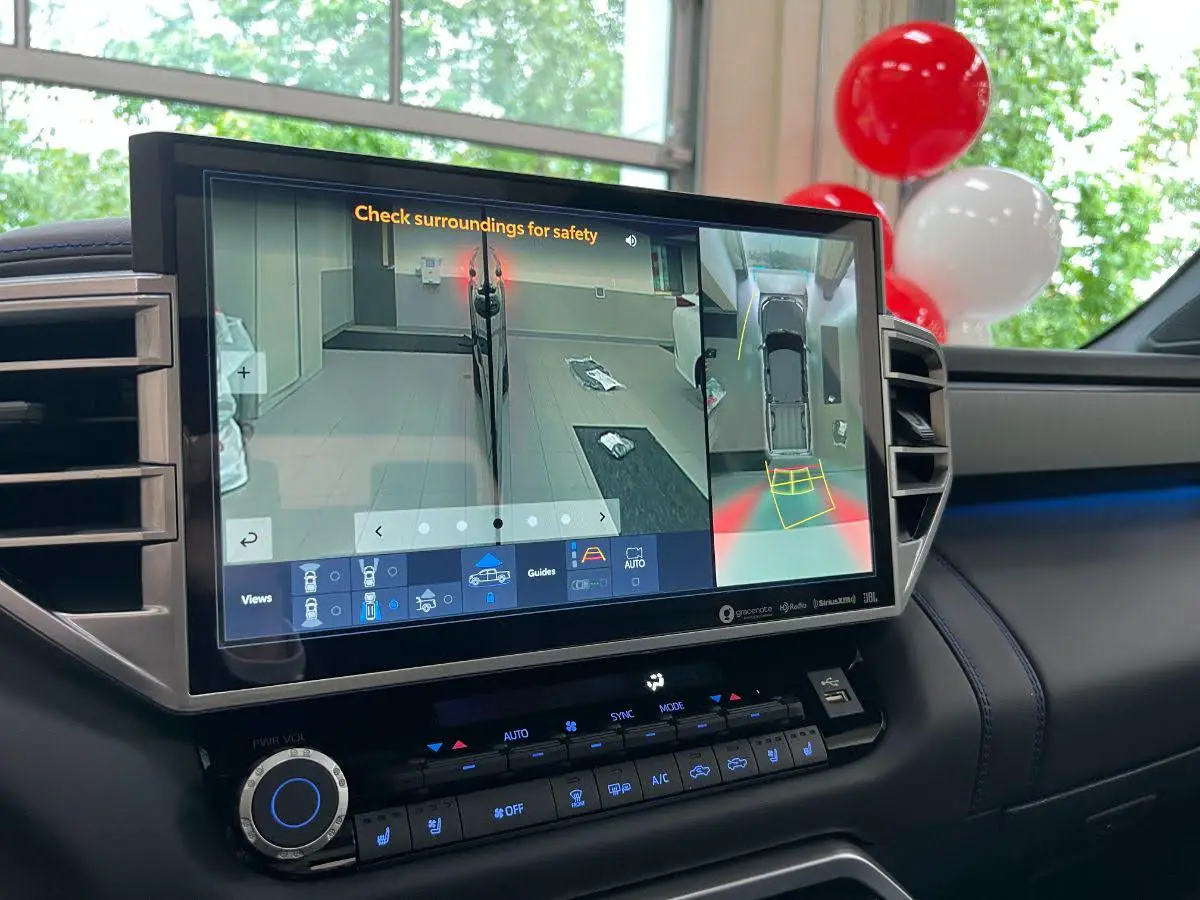
Front Split View
The front split view screen displays images from the front left and right side. the cameras are located underneath the side rear view mirror. This view mode will assist drivers in remaining safe on a little road by allowing them to look around the vehicle’s edges.
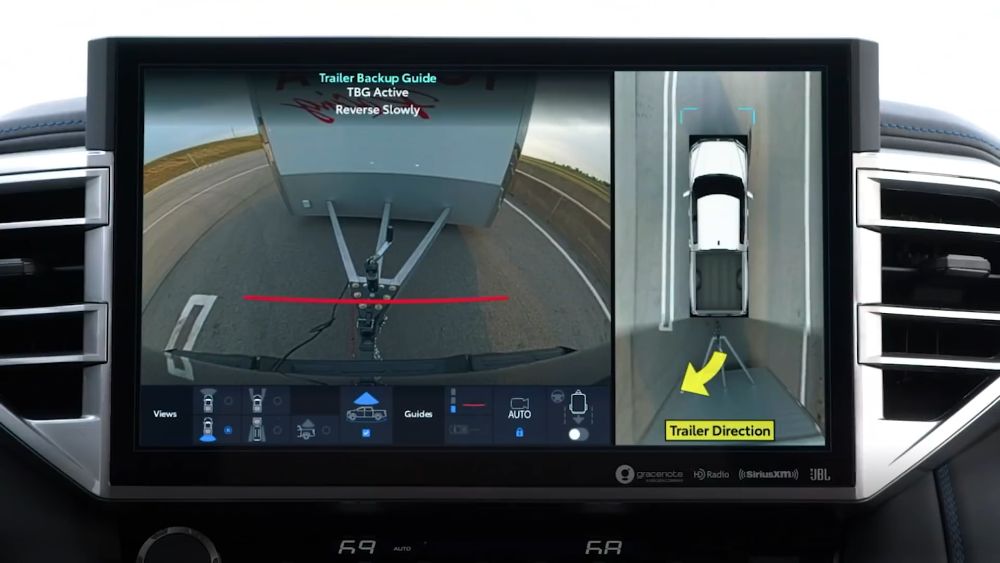
Rear Split Mode
A rear view screen shows what’s on the left and right sides of the back of your vehicle. This is ideal for checking how close you are to other things when backing up while parking. When the gear shift is switched to R, this mode is engaged.

Bed View
A camera shot of what’s going on in the bed. When you press it while driving 16 km/h or faster, the zoom view of the bed may be shown for a set period of time.
Panoramic View
Turns on and off the top down panoramic view (on the right side of the screen.

Guide Line Select
Use this button to change the guide lines you prefer to see on the screen.
Center Guide Line On/Off
Turn on/off specifically the center guide line that appears on the screen.
Auto Mode On/Off
In this mode, the screen is automatically turned on in response to vehicle speed. When you drive at 16 kilometers per hour or slower, the panoramic view monitor will turn on automatically.
Multi-Terrain Monitor On/Off
The Multi-terrain Monitor helps you see what is happening around your car when you are driving in different situations, like off-road driving or parking. Use this button to switch it on/off.
Switch between the different Screen Display Modes
Press the ‘Display’ mode button to select from one of the following display settings:

Wide rear view w/ Zoom in/out feature (full screen)
Understanding the Direction Guide Modes
When using the Panoramic View Mode, you may see the following types of guide lines appearing on the display:
- 1.5 ft Distance static warning from the edge of the bumper (blue) – Displays a guide path when the vehicle is being backed straight up.
- Vehicle center guide lines (green) – Indicates the estimated vehicle center on the ground.
- Dynamic estimated path line (yellow) – This shows an estimated course when the steering wheel is turned.
- 1.5 ft Distance warning line (red) – Shows distance at the back of the vehicle. Displays a point approximately 1.5 ft. (0.5 m) (red) from the edge of the bumper.
Each time the ‘Guide Line Switching’ button is pressed can switch the guide lines that appear on the screen:
Estimated Path Guide Lines – As you park, the lines on the screen change form to indicate where you should stop. On most vehicles, these line guides will shift left and right as you drive. What lines you will see:
- Dynamic estimated path line (yellow)
- 1.5 ft Distance warning line (red)
- 1.5 ft Distance static warning from the edge of the bumper (blue)
Parking assist guide line – The steering wheel return points (parking assist guide lines) are displayed. This mode is recommended for those who are comfortable with parking the vehicle without the aid of the estimated course lines. What lines you will see:
- Dynamic estimated path line (yellow)
- 1.5 ft Distance warning line (red)
- Vehicle center and width guide line
- Visual path of the smallest turn possible behind the vehicle with two crossing lines
Distance guide line – Only the distance guide line is displayed. This mode is recommended for those who are comfortable with parking the vehicle without the aid of the guide lines. What lines you will see:
- 1.5 ft Distance warning line (red)
Center guide line – The vehicle’s center line is shown, which follows the steering wheel’s operation. The center guide line shows each of the guide lines for the estimated course line, parking assist guide line, and distance guide line as soon as the display is switched on.
The Panoramic View Monitor can come on Automatically

You may press the ‘AUTO’ button and turn on the Auto Display Mode option to switch the screen in response to vehicle speed/ It will automatically display the Panoramic View Monitor whenever you drive 16 km/h or slower.
You can Change the Vehicle Icon Colour
Select the Car button (bottom right corner) from the Panoramic View Screen to select your desired vehicle icon colour. This is accessible when you press the VIEW button location on the Tundra’s center console.
What you should know before you start
You should be aware of all of the applications for which the panoramic view monitor system may be utilized. Please Keep in mind that:
- When the front doors or tailgate are not entirely closed, the visual will not display properly.
- The quality of the picture may deteriorate and bright/dark patches may appear at the four corners of the panoramic view camera, which is typical as those are where the camera pictures are linked together.
- Because the panoramic view takes and shows pictures based on flat road surfaces, it can’t show three-dimensional things that are positioned higher than the road surface.


1 thought on “Panoramic View Monitor on the Tundra: What Does It Do?”